
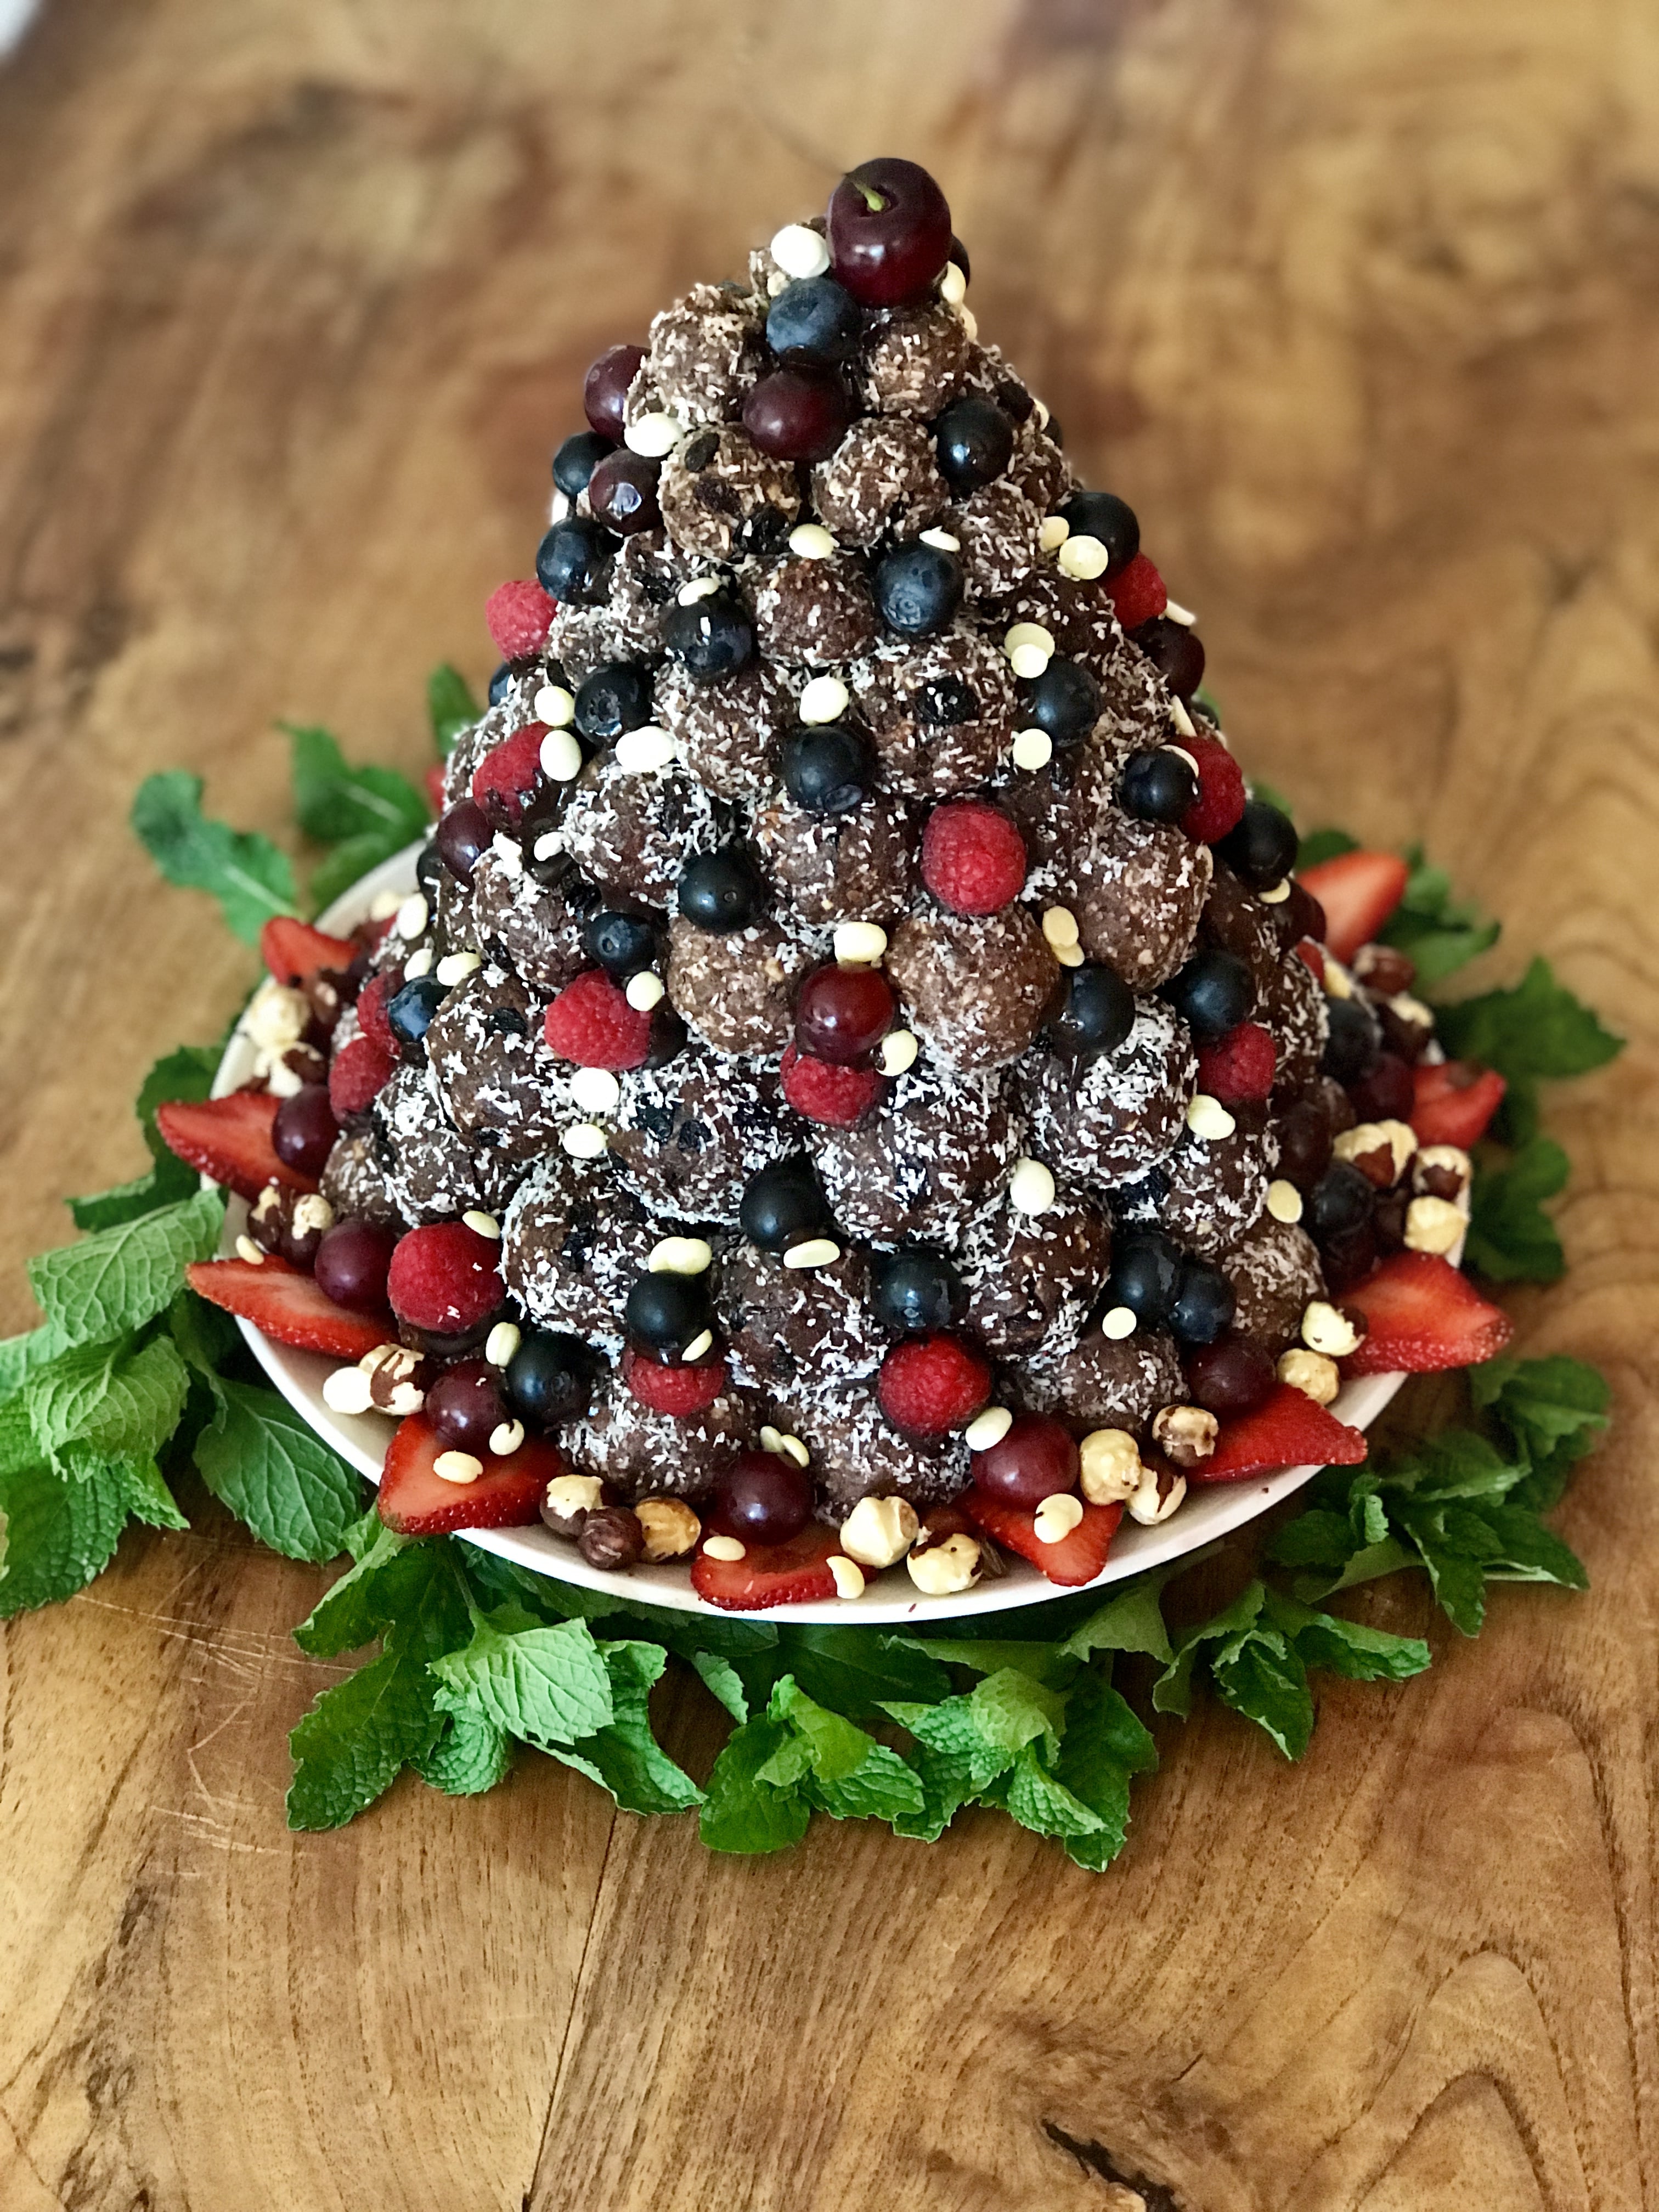
Rum Ball Christmas Tree
This was so much fun to make! So pretty & a practical & healthy dessert that also adds some seriously festive vibes to your table!
Rum Ball Christmas Tree Ingredients
- 2 x 750g Bliss Ball mix (for a big tree to feed loads of people)
- 1.5 cups currants
- 1 cup raisins
- 1/2 cup of rum or to taste
- 2 dessert spoons of mixed spice
- 120g coconut oil
- 200g block of dark chocolate for 'glue'
- Shredded coconut for rolling your balls in
- Raw Cacao or white chocolate buttons
- Handful of hazelnuts,
- bunch of mint (optional / decoration round the base)
- 1 punnet each of raspberries, strawberries & blueberries,
- a bunch of small red grapes,
- 1 cherry for the top!
Method
1. Pour rum & mixed spice over your currants & raisins, mixing through well then leave covered in a large bowl to soak overnight.
2. Next day, add Bliss Ball mix & coconut oil into the bowl; mix well, squeezing mix together with clean hands until well combined.
3. Shape mix into balls, a few different sizes (i.e. lots of bigger ones for the lower layers, then less medium sized & even fewer small ones, plus a few teeny tiny ones for the top of the tree. You'll need to work out quantities based on the size of your planned tree (see next step). Set balls aside in the freezer until ready to construct your tree!
4. Make a cone using some cardboard, that sits nicely on top of an upturned bowl (or just a larger cone sitting directly on a plate should also work fine). Ensure that your cone is small enough that you can fully cover it with balls, leaving only small gaps.
5. Melt your dark chocolate into 'glue'. This will be used to stick all your fresh berries to the tree, as well as glueing the balls into place.
6. Centre the bowl / cone on a plate.
7. Dollop / drizzle some melted chocolate around the bowl, so that your first layer of balls can be 'glued' into place by pressing them into the melted choc circle.
8. Arrange your first layer of balls on the choccy glue.
9. Place a little choccy glue onto the top (slightly towards the inner side) of the ball circle, & press your 2nd layer of balls onto the glue (leaning against the bowl / cone for support).
10. Continue layering your balls against the cone to cover it, using slightly smaller balls as you add more levels - so the balls are biggest at the bottom, smallest at the top, & your cone is covered (there may be gaps, that's fine - you'll fill those with berries).
11. Place tree in the fridge to 'set' the glue.
12. Dip cold fresh berries into your leftover choccy glue, then press them gently but firmly into any gaps (glue them so they sit on top of balls).
13. Use raw cacao buttons (or white choc drops) to stick onto any visible globs of glue / arrange them on the tree to look like fairy lights.
14. Place the tree in the fridge to fully set until ready to serve.
15. Arrange some fresh mint / something green at the base to make it look extra Christmassy on your table!
Serves Approx
Depends on how many balls you've made / size of the tree. Enjoy this recipe! jeanie@goodmix.com.au
Read more
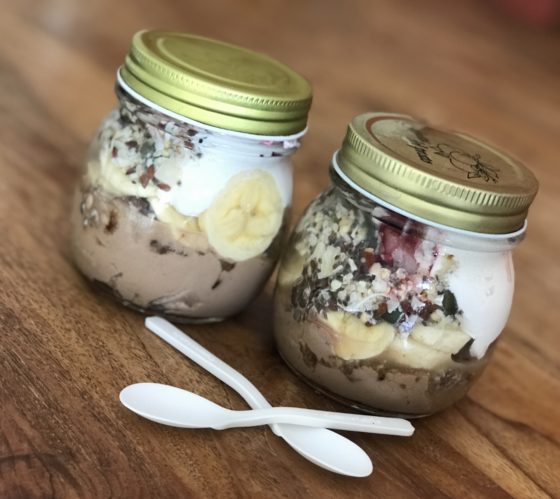
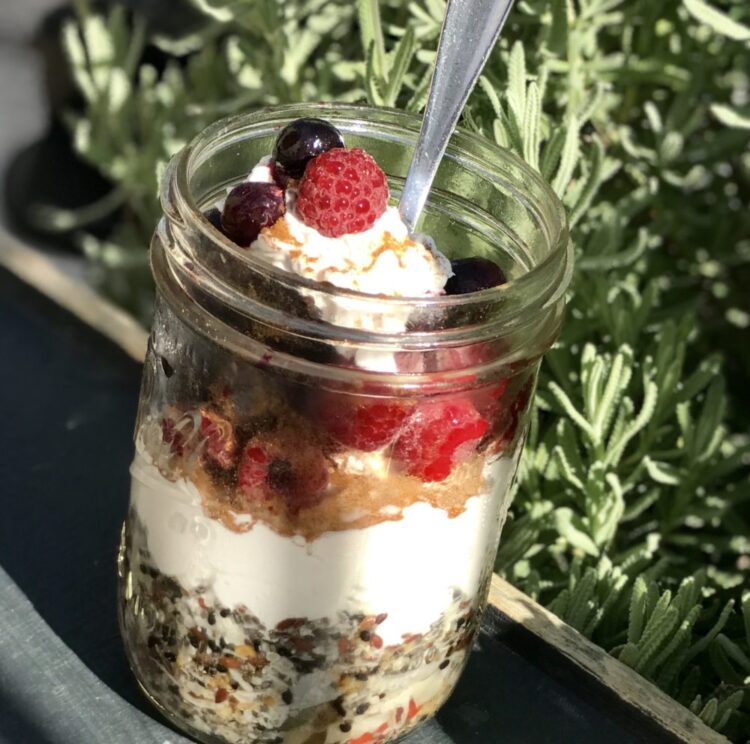
Perfect to prepare the night before, this gluten free, grain free brunch in a jar is the perfect portable meal for those wanting to break their fast with something nutritious a little later in the ...
Read more